Selfoss is my preferred RSS reader. I use it daily to follow many sites.
In this guide we are going to install it and configure it using Nginx.
Preparing the vhost in Nginx
In this example I’m using selfoss.local as the url to set it up. Change the url to whatever you want.
sudo mkdir -p /var/www/selfoss.local/public_html
cd /var/www/selfoss.local/public_html
Create the vhost file: sudo nano /etc/nginx/sites-enabled/selfoss.local.conf
server {
    listen 80;

    server_name selfoss.local;
    root /var/www/selfoss.local/public_html;

    index index.php index.html;

    location ~*  (gif|jpg|png) {
        expires 30d;
    }

    location ~ ^/(favicons|thumbnails)/.*$ {
        try_files $uri /data/$uri;
    }

    location ~* ^/(data/logs|data/sqlite|config.ini|.ht) {
        deny all;
    }

    location / {
        index index.php;
        try_files $uri /public/$uri /index.php$is_args$args;
    }

    location ~ .php$ {
        include snippets/fastcgi-php.conf;
        fastcgi_pass unix:/var/run/php/php7.3-fpm.sock;
        fastcgi_intercept_errors on;
        fastcgi_buffers 16 16k;
        fastcgi_buffer_size 32k;
    }
}
And finally reload nginx: sudo nginx -t && sudo service nginx reload
Download Selfoss
Next we download Selfoss. On the Selfoss home page there is a download button. Copy the destination of that link.
At the time of writing it is on version 2.18 and the download zip is
Replace the url if needed.
sudo wget https://github.com/SSilence/selfoss/releases/download/2.18/selfoss-2.18.zip -O selfoss.zip
sudo unzip selfoss.zip
sudo rm selfoss.zip
sudo chown www-data:www-data /var/www/selfoss.local -R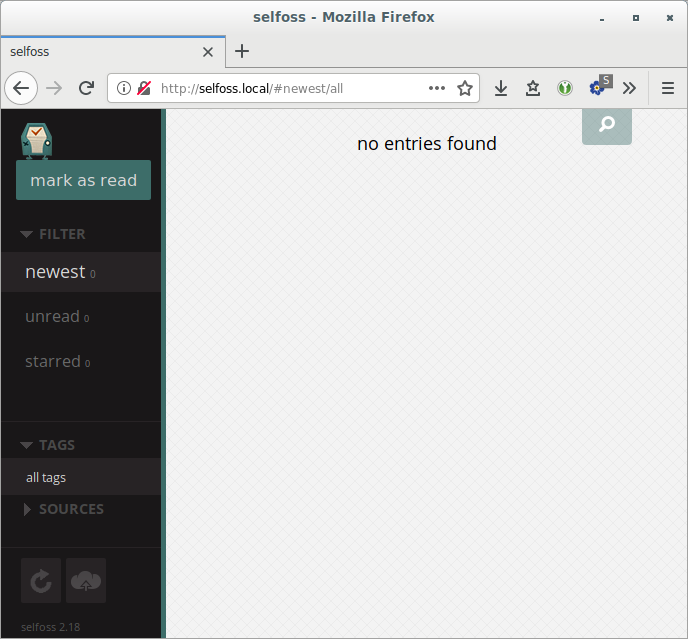
Now visit the url. You should see an empty -but working- selfoss screen.
Configuration
Although this installation works we are going co configure some aspects of it.
DB connection.
Be default Selfoss uses sqlite. Mysql has a better performance. Instructions to install Mysql are in a separate article.
More detailed instruction are there. So here are the quick instructions to create a database.
Login to mysql as root: sudo mysql -uroot
Create a db, and assign a new user. !Replace the password
You can set your own database name and user.
CREATE DATABASE misc_selfoss;
CREATE USER 'selfoss'@'localhost' IDENTIFIED BY '%%SAFE_PASSWORD%%';
GRANT ALL PRIVILEGES ON `misc_selfoss`.* TO `selfoss`@`localhost`;
FLUSH PRIVILEGES;
EXIT;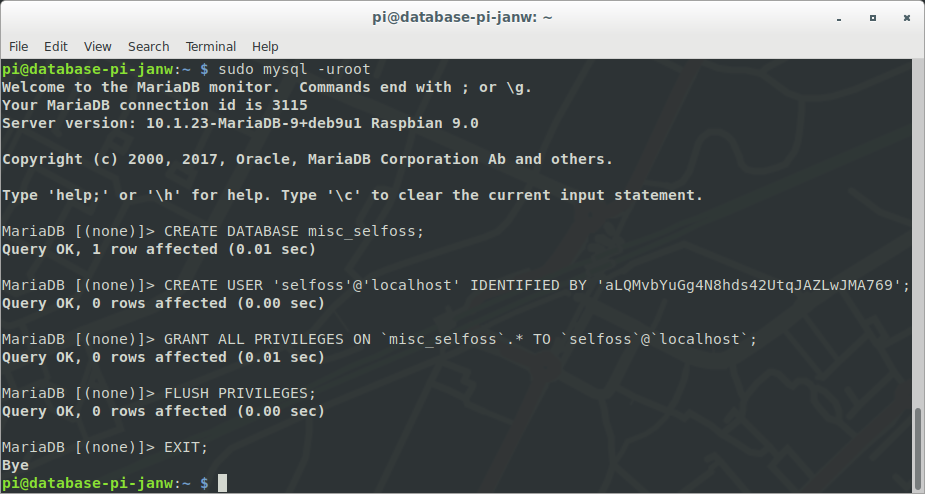
Next we set the db connection in the config file: sudo nano config.ini
[globals]
db_type=mysql
db_file=data/sqlite/selfoss.db
db_host=localhost
db_database=misc_feeds
db_username=janwfeeds
db_password=%%SAFE_PASSWORD%%
db_port=
db_prefix=self_
A few cleanup commands afterwards
sudo rm data/sqlite/selfoss.db
sudo chown www-data:www-data /var/www/selfoss.local -R
Password protection
To protect your selfoss installation we will set a password.
Go to your url/password in my case: http://selfoss.local/password
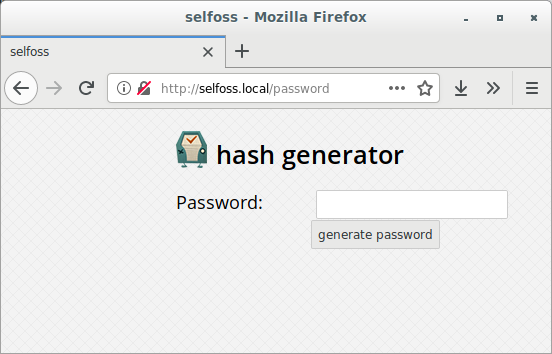
After go got the hash add it to the config file: sudo nano config.ini
username=yourusername
password=a19fe3f69ec64cded61d0dbc01f0200ab265df0c3a2828d0e53d47bc93032698fbc7862e536c324f47edd6bd1f3e07571cca898fae140394f93632fa9334ad
Other configurations.
There are more configurations. See the official documentation Personally I prefer that items get marked as read when I open them.
auto_mark_as_read=1
homepage=unread
Now you are ready to start using Selfoss. Have fun!