Let me state a few things before we start.
This guide will only cover the Ubuntu server part, so not the desktop. There are other guides that do cover that.
At the end you will have a headless Raspberry Pi running Ubuntu that you can login with ssh.
Download and Flash
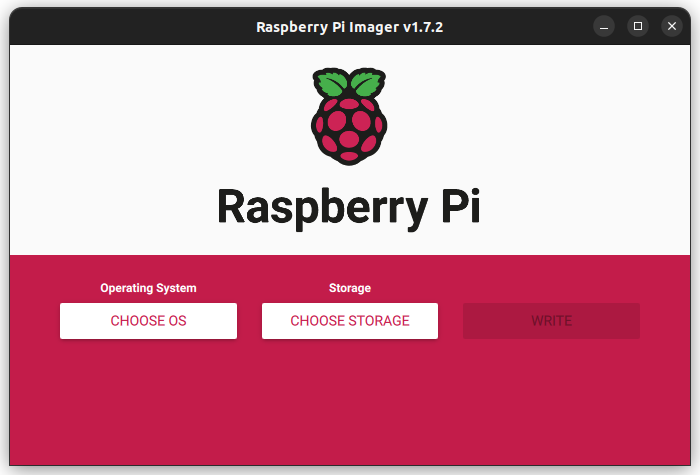
From the official downloads page download the Raspberry Pi Imager. Install and run it. We can find Ubuntu by selecting:
choose OS > Other general purpose OS > Ubuntu > Ubuntu Server 22.04.1 LTS
Select the latest LTS version of Ubuntu, select 64 bit for the Pi 3 or Pi 4.
There might be a newer version but I recommend LTS because it will get updates for the next 5 years.
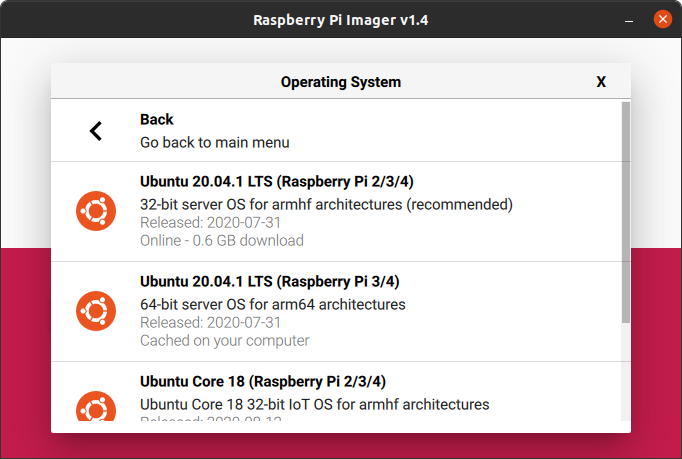
If you can’t download the image via the imager. You can Download the Ubuntu image manually and select a custom image.
Writing the image and verifying the image can take a while. Be patient.
After the SD card is done
When the writing of the SD card is done. Create a folder named ssh in the root of the system-boot partition.
If you need wifi I suggest this guide, I don’t use wifi on my Pi’s so I haven’t tried.
Then plug in the SD card and powerup. Do wait 2~5minutes before actually trying. Ubuntu has to setup stuff for the first time. If after 20max you still can’t find an IP. The flashing of the SD card has gone wrong and you’ll have to restart.
Finding the IP-address
First we need to get the IP-address that the Pi is running on. There are multiple ways to find the IP, you could login to your router and check for the device. It’s hostname is probably “ubuntu.home“, “ubuntu.local” or plain “ubuntu”. Usually the it will start with 192.168.x.x
There is an official guide for finding the IP-address. It’s one of the more annoying things when you are new. I myself use nmap
First login in Ubuntu
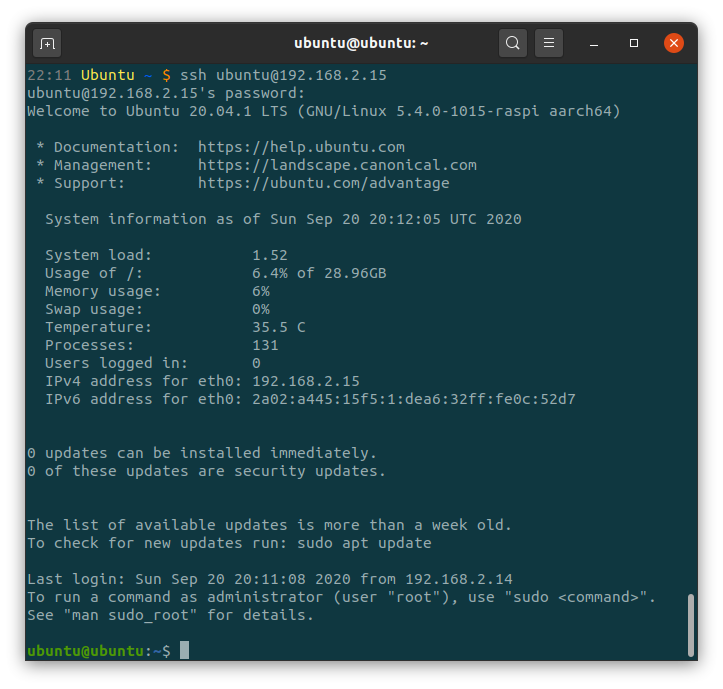
Once you do have the IP-address login with the command ssh ubuntu@IP-HERE

The password is ubuntu
You will be asked to replace the default password with a new one. After changing it login again.
Now we can login we will change some things, some are optional.
Updates
For complete updates run: sudo apt update && sudo apt upgrade -y
This might take a while. When this is done for the first time you might have to reboot, I recommend rebooting anyway: sudo reboot now
Hostname
The default hostname is ubuntu, that might be fine but I’d rather give it a name that is more descriptive of it’s purpuse. Check the current hostname with the command hostname it should be ubuntu
For my example I will update the hostname to raspberry-webserver
Run the following command with the name you want.sudo hostnamectl set-hostname raspberry-webserver
Then Reboot: sudo reboot now

Static IP-address
By default the Pi gets a dynamic IP, the main benefit of a static IP is that it never changes. This might depend on your router.
With this static IP I know I can always login with the same IP.
Before we start a few notes. This part is always a bit annoying.
- I followed 2 guides for this section, check them for more information.
itzgeek & serverlab - These example only works when an ethernet cable is attached, not on wifi.
- If you can’t login after applying the changes pull the plug and stick the SD card in your computer and delete
/etc/netplan/01-static-ip.yamlit can be found in the writeable partition. - Depending on your router the 3rd number of the IP might differ, so it might be
192.168.1.161it should be the same as the 3rd part of what you use to login originally.
Set the IP
In this example I will set the static IP to 192.168.2.161
First we need the default IP of the router. We need it for the gateway. Run ip route show

This output shows “default via 192.168.2.254” That’s the IP we need.
We will create an extra netplan config file: sudo nano /etc/netplan/01-static-ip.yaml And match this content. Make sure you replace the IP with your own.
This is a yaml file so the number of spaces/tabs matters.
network:
  version: 2
  renderer: networkd
  ethernets:
    eth0:
      dhcp4: no
      addresses:
        - 192.168.2.161/24
      gateway4: 192.168.2.254
Next we reload netplan to apply the configuration: sudo netplan generate && sudo reboot now
Once you can login with the new IP it’s done.